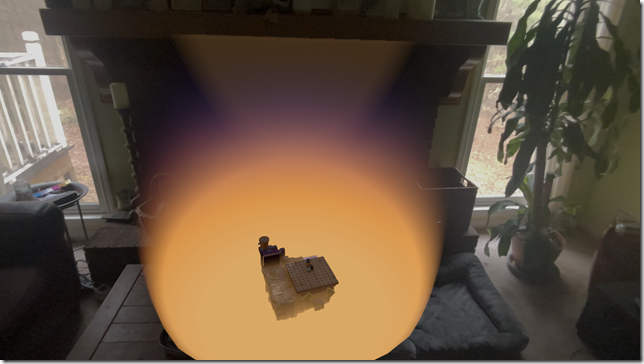
You can take a snapshot of a spatial computing experience in the Apple Vision Pro simply by pressing both the crown button and the top button at the same time.
This doesn’t work for video capture, unfortunately. Video capture on the Apple Vision Pro takes spatial video of the actual world, only, and won’t create a composite video of the physical and the digital worlds.
If you want to take a video of a spatial computing experience, you will need to stream what you see to a MacBook or an iPhone, iPad or AppleTV.
There are two ways to record from the Apple Vision Pro.
- Mirror to another device (stream and then record).
- Use the developer capture tool in Reality Composer Pro (record and then stream).
Mirroring is the more flexible way of doing a recording and allows you to record a video of indefinite length. This is great if you want to do a lot of takes or just want a lot of footage to use.
Using Reality Composer Pro is more complicated and only lets you capture 60 seconds of video at a time. The advantage capturing video this way is that the quality of the video is much higher, at 30 FPS using 10-bit HEVC.
All the advice I’m passing on to you, by the way, I learned from Huy Le, who is an amazing cinematographer of digital experiences.
Mirror to another device
You can mirror what you see inside the Apple Vision Pro to a MacBook, iPhone, iPad or an Apple TV. This is a really handy feature for doing demos or even if you just want to guide someone through using the device or using an app for the first time. It’s also great for user testing your apps.
In order to mirror, you will need to have both the Apple Vision Pro and the device you are streaming to on the same WiFi network.
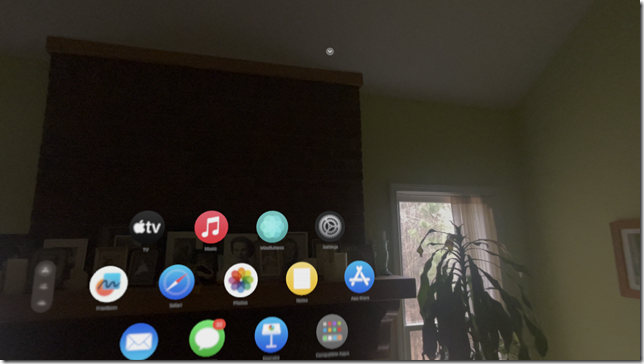
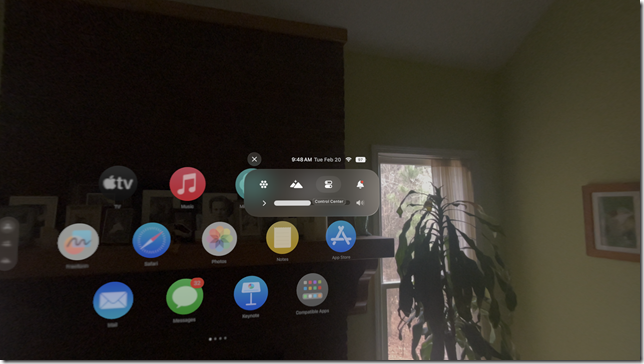
1. Inside the Apple Vision Pro, look up – way, way up. A down arrow in a circle will appear at the top of your view. Focus your eyes on it and tap.
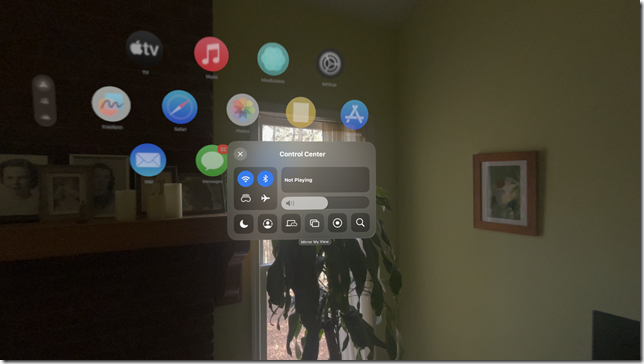
2. Next, select the third icon from the left showing two ellipses stacked on top of each other. This is the control center button.
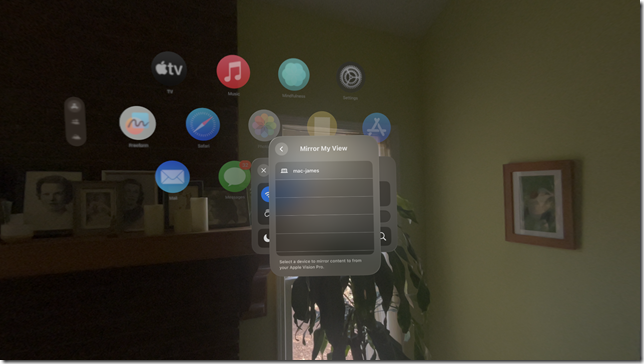
3. On the next screen, select the fourth icon from the left showing two rounded rectangles overlapping. This is the “mirror my view” icon.
4. The final screen will provide you with a list of devices on your WiFi network that you can stream to. Tap on one of these to select it.
5. You will now have a steady 2D video with very little lag streaming to your device. I typically stream to my MacBook. From the MacBook there are two common ways to record your stream. One is to use the built in recording tool. Type Ctrl-Shift-5 to start recording (it is a good idea to start your recording before you begin streaming). The built-in tool is convenient but sometimes it is hard to know if it is recording or not. The second way to record your stream is to download OBS, which is a popular open source screen capture tool, and just use that. OBS gives you a lot of fine-grain control over your recording.
6. Because the Apple Vision Pro can shake while you are wearing it, it’s a good idea to run your footage through video editing software like Adobe Premier Pro and apply a stabilizer effect to it.
Reality Composer Pro
For the highest quality capture (for instance if you are doing promotional footage of your app) you should use the developer capture tool in Reality Composer Pro.
1. To use developer capture, your AVP and your MacBook should be on the same WiFi network. Additionally, the AVP needs to be paired with your MacBook. You may also need to have “developer mode” turned on on your Vision Pro.
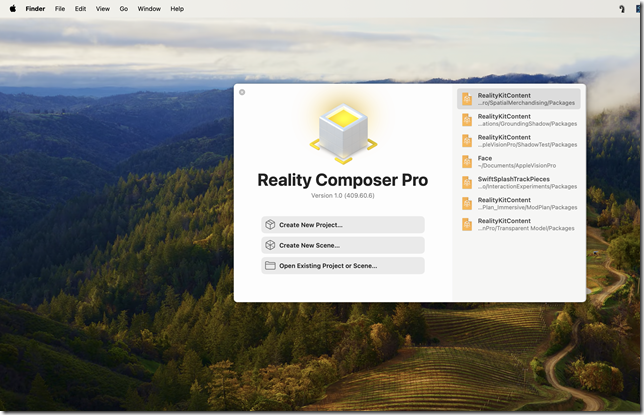
2. To open Reality Composer Pro, you first need to open XCode on your MacBook. (If you don’t have XCode 15 installed, you can download it from the Apple site.) Select “Open Developer Tool” on the XCode menu. Then select “Reality Composer Pro”.
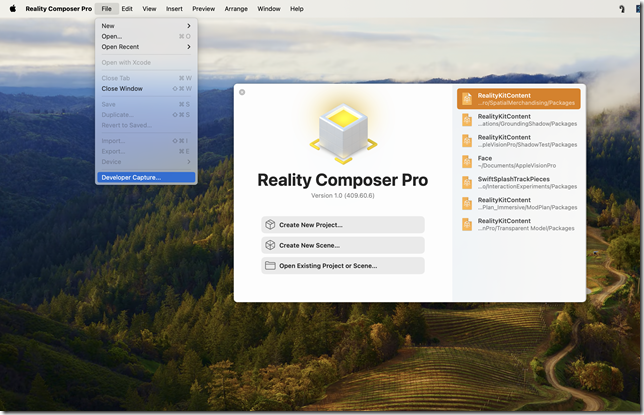
3. In Reality Composer Pro, select “Developer Capture…” from the File menu.
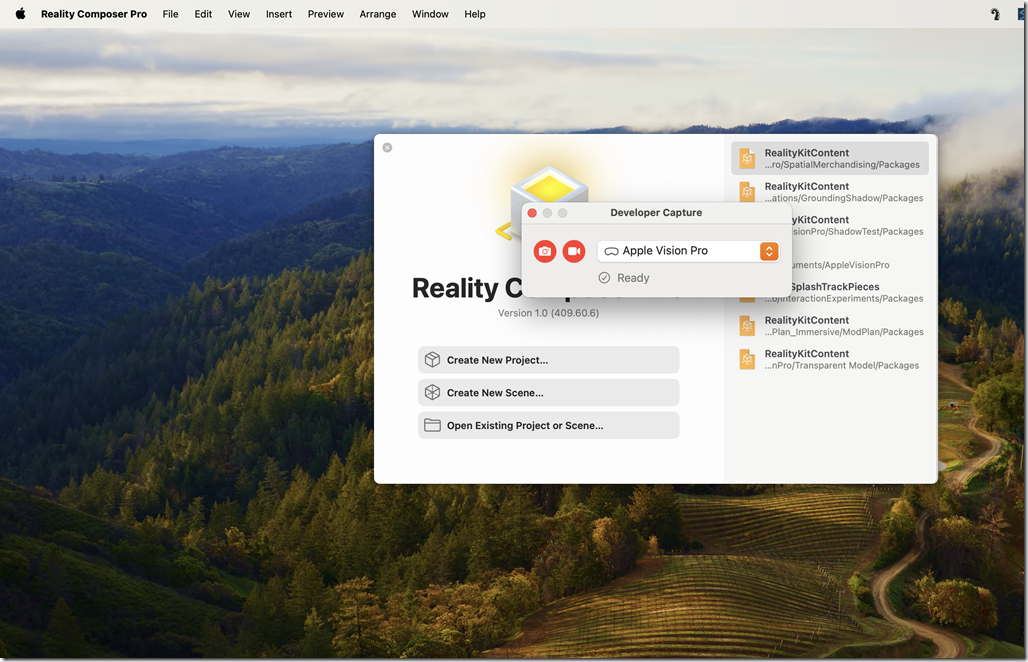
4. Select your Apple Vision Pro device from the drop down menu and click on the record button. This will record on device and then push the completed video to your MacBook when it is done.
5. When the recording is finished it will be deposited on your MacBook desktop as a QuickTime movie.
A note about video capture of in-app video – you can’t
You cannot use either of these techniques to capture a spatial computing experience that incorporates video. If you try to do video capture of apps like the IMAX app or the Disney Plus app, the in-app video will cut out when you begin recording. This may be a DRM feature – but I suspect it might actually be some sort of performance lock on the video buffer.
