

QnA Maker is Microsoft’s easy-to-use, cloud-based API for turning a public-facing FAQ page, product manuals, and support documents into a natural-language bot service. Because it takes in pre-vetted data to use as its “smarts,” it’s one of the easiest ways to build a powerful bot for your company.
Alexa, of course, is the world’s most pervasive host for conversational bots. It’s found in homes, corporate boardrooms, and anywhere else people want easy access to web-based information.
In this article, I will show you how to attach the plumbing to push the Q&A information your company wants users to know onto the conversational bot devices that they are most frequently using.
Part 1: Creating a bot service with QnA Maker
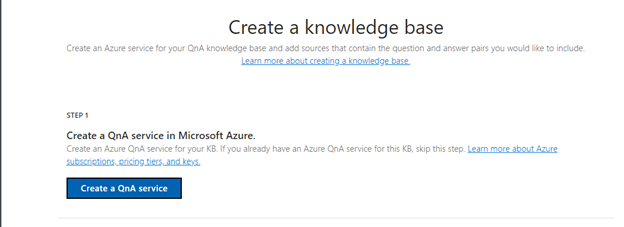
To get started, I first created a free Azure account to play with. I then went to the QnA Maker portal page and clicked the Create a knowledge base tab at the top to set up the knowledge base for my bot. I then clicked the blue Create a QnA service button to make a new QnA service with my free Azure account.
I followed the prompts throughout the process, which made it easy to figure out what I needed to do at each step.
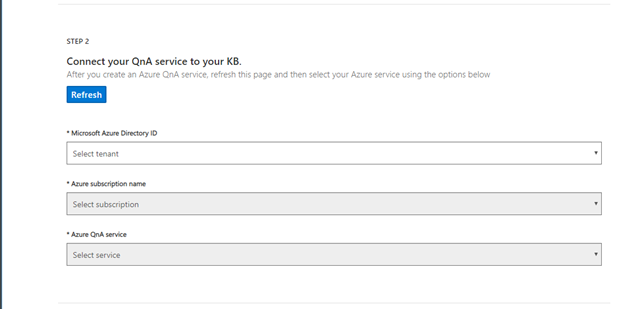
In step 2, I selected my Azure tenant, Azure subscription name, and Azure resource name associated with the QnA Maker service. I also chose the Azure QnA Maker service I’d just created in the previous step to host the knowledge base.
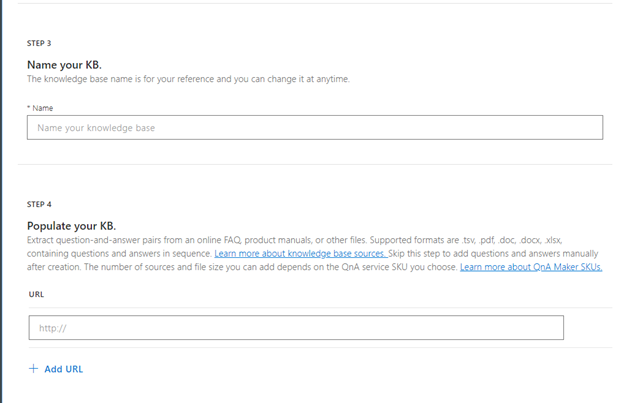
I then entered a name for my knowledge base and the URL of my company’s FAQ to use as the brains for my knowledge base. If you just want to test this part out, you can even use the FAQ for QnA Maker itself.
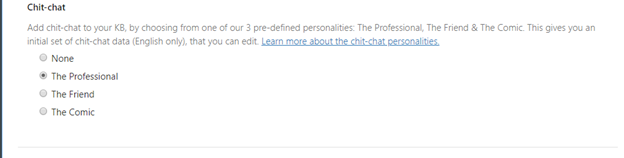
QnA Maker has an optional feature called Chit-chat that let me give my bot service a personality. I decided to go with “The Professional” for this, but definitely would like to try out “The Comic” at some point to see what that’s like.
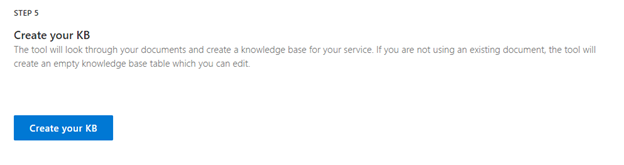
The next step was just clicking the Create your KB button and waiting patiently for my data to be extracted and my knowledge base to be created.
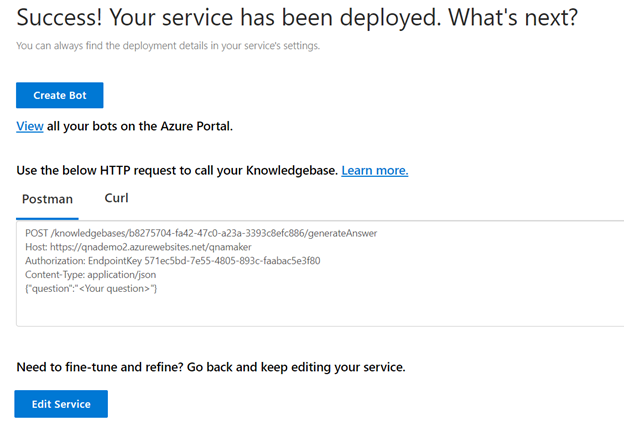
Once that was done, I opened the Publish page in the QnA Maker portal, published my knowledge base, and hit the Create Bot button.
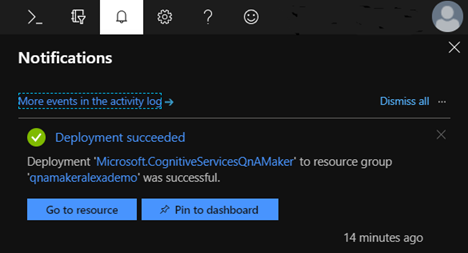
After filling out additional configuration information for Azure that was specific to my account, I had a bot deployed with zero coding on Microsoft Bot Framework v4. I could even chat with it using the built-in “Test in Web Chat” feature. You can find more details in this cognitive services tutorial.
Part 2: Making your bot service work on Alexa
To get the bot service I created above working with Alexa, I had to use an open-source middleware adapter created by the botbuilder community. Fortunately, the Alexa Middleware Adapter was available as a NuGet package for Visual Studio.

I went to the Azure portal and selected the bot I created in the previous section. This gave me the option to “Download Bot source code.” I downloaded my bot source code as a zip file, extracted it into a working directory, and opened it up in Visual Studio 2017.
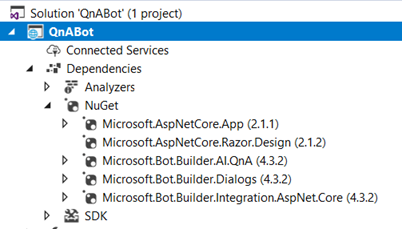
When the bot is automatically generated, it’s created with references to the Microsoft.AspNetCore.App NuGet package and the Microsoft.AspNetCore.App SDK. Unfortunately, this had compatibility issues with the middleware package. To fix this, I right-clicked on the Microsoft.AspNetCore.App NuGet package in the Solution Explorer window and removed it. This automatically also removed the equivalent SDK. To get back all the DLLs I needed, I used NuGet Package Manager to install the Microsoft.AspNetCore.All (2.0.9) package instead. Be sure to install this specific version of the package to ensure compatibility.
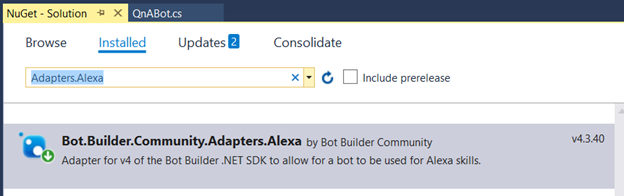
After making those adjustments to the solution, I went to the Visual Studio menu bar and selected Tools -> Nuget Package Manager -> Manage Nuget Packages for Solution. I searched for Adapters.Alexa and installed the Bot.Builder.Community.Adapters.Alexa package.
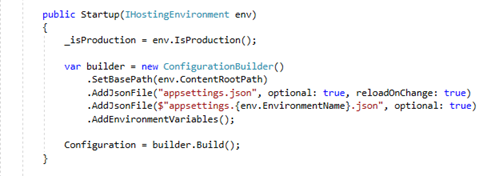
If your downloaded app is missing its Program.cs or Startup.cs file, you will need to create these for you project in order to build and publish. In my case, I created a new Microsoft Bot Builder v4 project and copied these two files from there. In the Startup method of the Startup class I created a ConfigurationBuilder to gather my app settings.
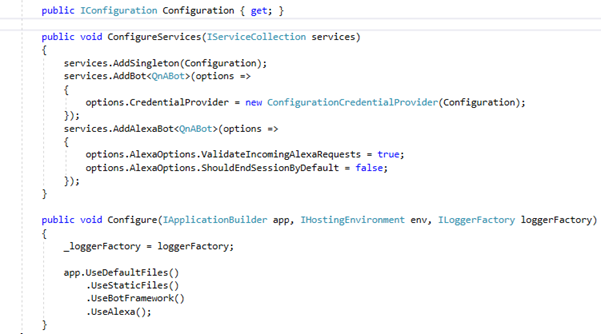
Then in the ConfigureServices and Configure methods, I added a call to services.AddAlexaBot and UseAlexa in order to enable the Alexa middleware and set up a special endpoint for calls from Alexa.
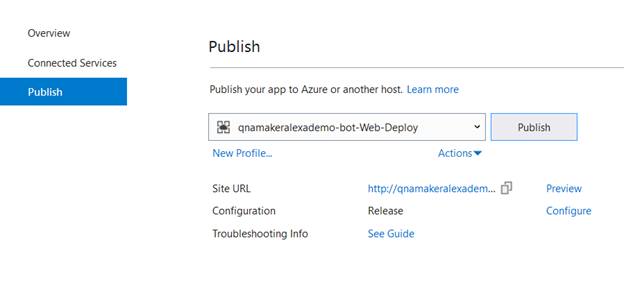
Following these code changes, I published the Web App Bot back to my Azure account. The original QnA Bot Service now has an additional channel endpoint for Alexa. The Alexa address is the original Web App Bot root address with /api/skillrequests added to the end.
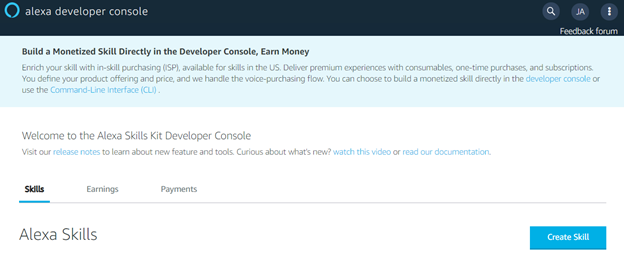
At this point, I was ready to go to my Amazon account and create a new Alexa skill. I went to: https://developer.amazon.com/alexa and signed in. (If you don’t already have a developer account, you will need to enter your information and agree to the developer EULA.) Next, I tapped the Alexamenu item at the top of the developer page and selected Alexa Skills Set. This took me to https://developer.amazon.com/alexa/console/ask, where I clicked the Create Skill button.
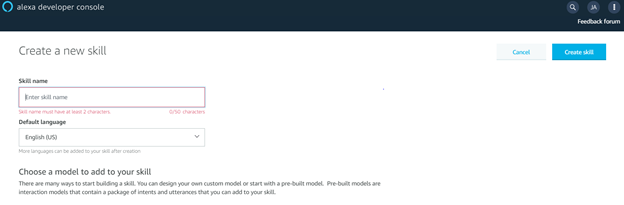
I wrote in a unique name for my skill, selected Custom for the model, and clicked Create skill. On the following screen, I selected Start from Scratchfor my template.
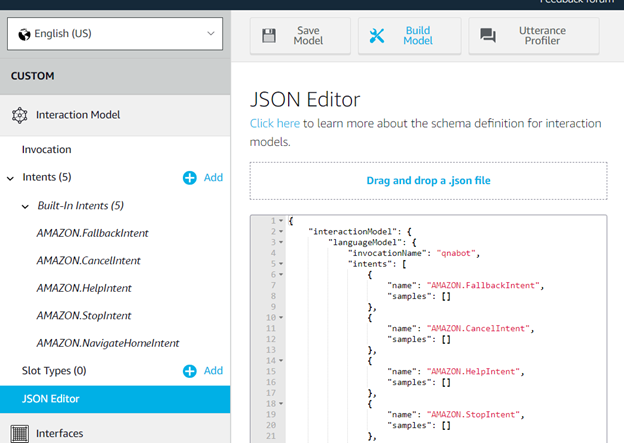
I selected JSON Editor.
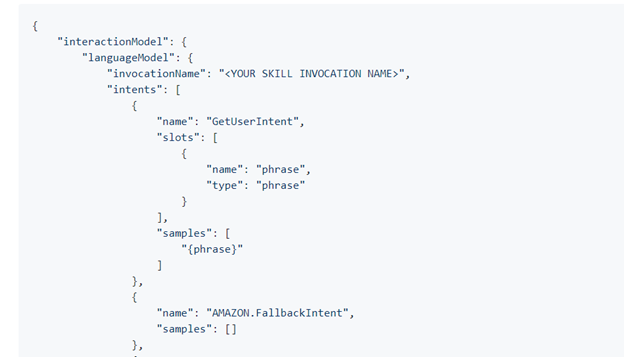
Next, I opened another web browser and went to this source code, and copied the example JSON found in the README.md file.
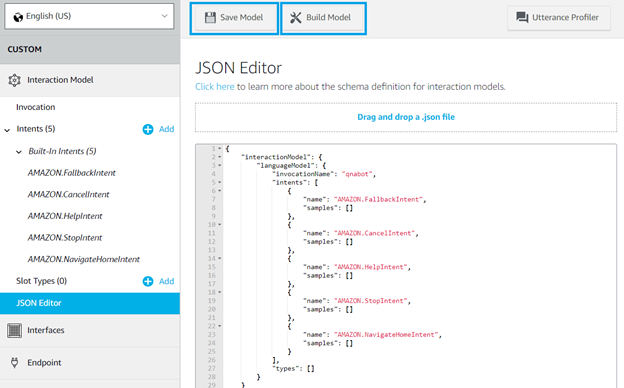
I returned to the web browser that had the Amazon Alexa portal opened and pasted the JSON into the box. I change the invocationName to the name of my skill, clicked Save Model, and finally clicked Build Model.
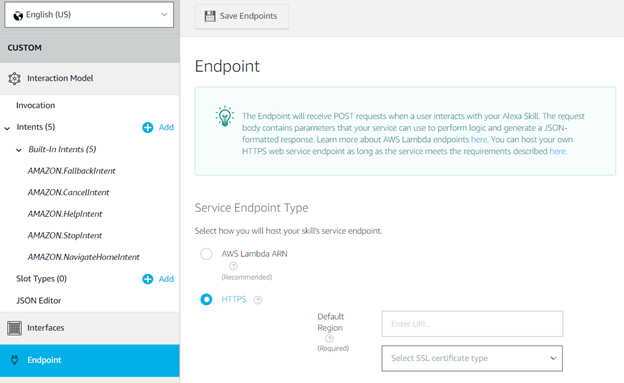
After waiting patiently for the build to complete, I selected Endpoint in the left navigation window and clicked HTTPS. I then entered the address of the Azure App Service URL and added /api/skillrequests to the end.
To distribute my Alexa skill so people can use it on their own Amazon devices, I clicked the Distribution link in the Alexa developer console and followed the instructions from there.
And before I knew it, I was able to have a conversation with my company’s FAQ page, using the QnA Maker’s professional chit-chat personality, from my living room.