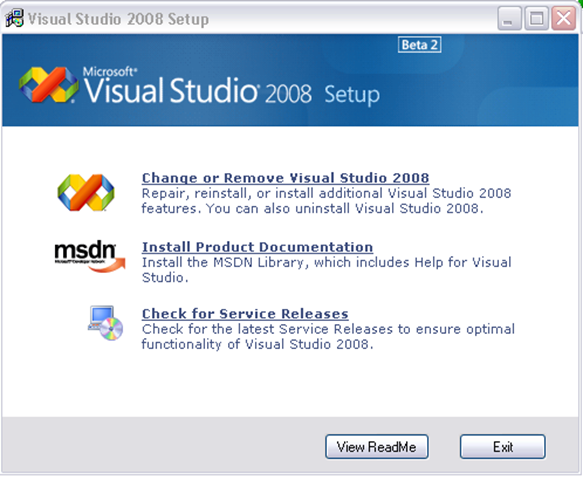
I had a weird problem with my DVD player, such that while I was able to burn the Visual Studio 2008 image successfully, I was not able to use it to install. Instead, the DVD would just lock up my XP operating system. So I resorted to my backup plan, which involved simply mounting the image as if it were a media device and running the install from there.
I was able to do this using free software provided by Microsoft called the XP Virtual CD Control Panel. But first, a public service message: beta software such as Visual Studio 2008 should not be installed on a production machine since it is not supported. Likewise, the Virtual CD Control Panel is unsupported, by which I mean if you have problems with this you can’t call Microsoft for help, and should be installed at your on risk.
With that out of the way, the Visual Studio 2008 (Orcas) beta image file can be downloaded here, while the Virtual CD software can be gotten here. The Virtual CD download is a executable zip file, which you should unzip to an easily accessible location on your harddrive. It includes the VCdControlTool executable, a readme file, and a file called VCdRom.sys. Copy VCdRom.sys file to your system32\drivers directory.
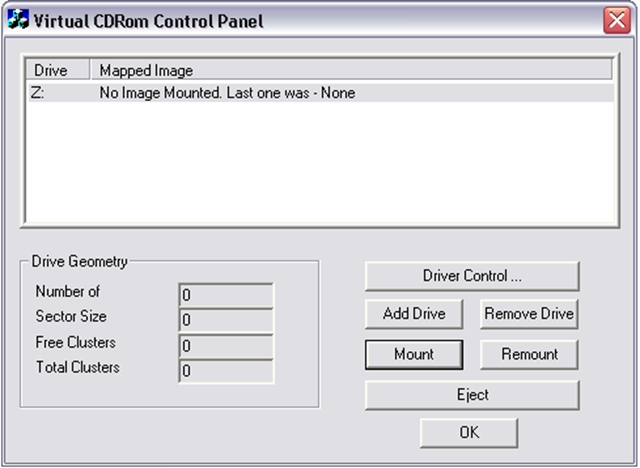
- Run VCdControlTool.exe
- On the first run, the driver will not have been loaded yet, so click “Driver control”, click “Install Driver”, navigate to the %systemroot%\system32\drivers folder, select VCdRom.sys, and click Open. Click “Start”. Click OK.
- Click “Add Drive” to add a drive to the drive list. Ensure that the drive added is not a local drive. If it is, continue to click “Add Drive” until an unused drive letter is available.
- Select an unused drive letter from the drive list and click “Mount”.
Navigate to the directory to which you downloaded the OrcasBeta2VSTSX1394647.img image file. In your dialog window, change the “files of type” option to All files (“*”). Now you should be able to see the Visual Studio 2008 image file. - Select the image file and click “OK”. (You can leave all the option check boxes unselected.)
- Return to your windows browser, where you should find the image file under Devices with Removable Storage. Double click it to begin the install.