Silverlight 2 and Silverlight 3 side-by-side on Windows 7

I’ve been trying to get Silverlight 2 and Silverlight 3 to run side-by-side on my OS for a while.  Amy Dullard has an interesting set of scripts to facilitate this – in effect, the scripts uninstalls the Silverlight 2 tools and replaces it with Silverlight 3 tools if you want to upswitch, then performs the reverse operation if you want to downswitch from Silverlight 3 to Silverlight 2.

This was time consuming in Windows XP.  It turned out to be impossible for me in Windows 7 (64-bit).  I received one of the mysterious install errors: 0x80070643.

Here are some descriptions of the issues and possible workarounds (which did not work around me):

http://silverlight.net/forums/t/66253.aspx

http://blogs.msdn.com/rjacobs/archive/2009/01/22/windows-7-and-silverlight-installer.aspx

Fortunately, Windows 7 has the XP Mode feature, which is basically a hardware-based virtualization platform with a license for the Windows XP operating system.

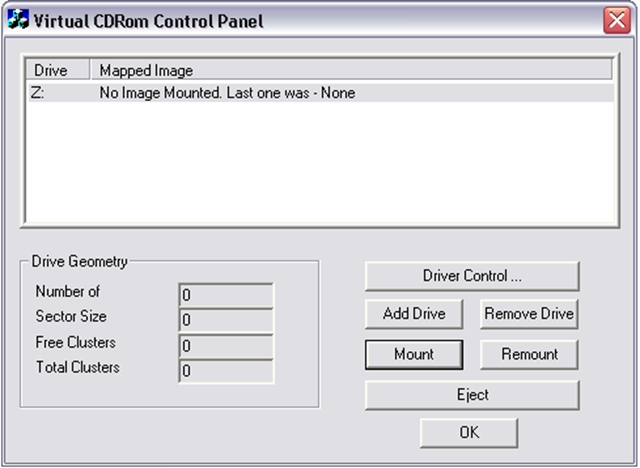
It is an add-on for Windows 7 that must be downloaded.  Thanks to a former Magenic colleague, I have a premier subscription to MSDN.  To run XP Mode, you must install two beta products: Windows Virtual PC beta and Windows XP Mode beta.  These can be downloaded from MSDN Subscriber Downloads |Applications | Windows Virtual PC.

Once I had both of these installed, set up the BIOS to support virtualization, and then installed my development software on the XP image, I found that my host OS now had several interesting new entries on the start menu.

startmenu

Besides being able to open up my virtual instance of XP, I also can access each application installed on my virtual PC.  Behind the scenes this is still running my virtual machine, but it appears as if I am running an application in a special “XP Mode” since I never have to log into my XP virtual machine and also never see the desktop for it.  Instead, Visual Studio in “XP Mode” simply appears in my Windows 7 task bar next to my Windows 7 instance of Visual Studio.  Furthermore, since I have Silverlight 3 installed on my host OS and Silverlight 2 on the virtual machine, I in effect have a Silverlight 2 instance and a Silverlight 3 instance of Visual Studio running next to each other.

By default, XP Mode runs with 256 Megs of RAM assigned to it.   I had to pump this up to 2 Gigs before I had decent performance.

Here’s a screenshot of the two instances of Visual Studio running side-by-side.  The one on the left has Silverlight 2 running on XP, while the one on the right has Silverlight 3 running on Windows 7.  Notice the lack of glass effects on the left.  I’ve also circled the Silverlight Tools for Visual Studio version numbers as proof (partly for myself) that I can develop against two versions of Silverlight at the same time:

sidebyside

Visual Studio 2008 Toolbox Crash Redux

crash

I had written a while ago about a quick way to resolve this issue by simply uninstalling Power Commands.

For some reason, the problem reappeared for me a few weeks ago — I think after installing an SDK — and I did not have Power Commands installed!  So I had to find an alternative solution.  It’s a little tedious, but it does the trick. 

Just to recap, the problem is that when the Visual Studio 2008 IDE reaches a certain state, attempts to Choose Items in the toolbox leads to Visual Studio shutting completely down, usually after a long and fretful wait.

1. To clear this peculiar issue up, you will want to run Visual Studio in safe mode.  To do so, open up a command line utility and run DEVENV /safemode.  Visual Studio should come up for you.

2. Right click on your toolbox and select Choose Items… from the context menu. 

3. Methodically select each tab in the dialog box that is presented.  Accept any recommendations or error messages that come up.

4. After this time consuming but effective process, you may close Visual Studio and bring it up again in normal mode.  All blemishes should be gone, and you can continue with your work.

Visual Studio 2008 SP1 Toolbox Crash

For the past month or so, whenever I tried to add a control to my Visual Studio Toolbox, the IDE would shut itself down.  My solution, of course, was to avoid adding tools to my Toolbox.

Finally I decided that I needed to do something, ahem, a little smarter.  The specific problem occurred when I tried to use the Context Menu’s “Choose Items…” option on my toolbox.   It turns out that the Power Commands (when did I install that?) has a conflict with VS 2008.  This apparently can also mess up the class viewer in Visual Studio 2008.  There are two work-arounds for this.   The first is to hack a config file for your IDE settings.   That solution can be found here: http://social.msdn.microsoft.com/Forums/en-US/vssetup/thread/e2434065-9921-4861-b914-9cc9d6c55553/


Unfortunately this didn’t work for me.  The second work-around is simply to uninstall the Power Commands.  If you go into Add/Remove Programs, it is listed as PowerCommands for Visual Studio 2008.

PowerCommands

Oddly enough, Add or Remove Programs says I used this particular tool frequently, even though I’m not exactly sure of how I used it. 

Install Visual Studio 2008 beta without a DVD Burner

I had a weird problem with my DVD player, such that while I was able to burn the Visual Studio 2008 image successfully, I was not able to use it to install.  Instead, the DVD would just lock up my XP operating system.  So I resorted to my backup plan, which involved simply mounting the image as if it were a media device and running the install from there.

I was able to do this using free software provided by Microsoft called the XP Virtual CD Control Panel.  But first, a public service message: beta software such as Visual Studio 2008 should not be installed on a production machine since it is not supported.  Likewise, the Virtual CD Control Panel is unsupported, by which I mean if you have problems with this you can’t call Microsoft for help, and should be installed at your on risk.

With that out of the way, the Visual Studio 2008 (Orcas) beta image file can be downloaded here, while the Virtual CD software can be gotten here.  The Virtual CD download is a executable zip file, which you should unzip to an easily accessible location on your harddrive.  It includes the VCdControlTool executable, a readme file, and a file called VCdRom.sys.  Copy VCdRom.sys file to your system32\drivers directory.

VCdControlTool

  1. Run VCdControlTool.exe
  2. On the first run, the driver will not have been loaded yet, so click “Driver control”, click “Install Driver”, navigate to the %systemroot%\system32\drivers folder, select VCdRom.sys, and click Open. Click “Start”. Click OK.
  3. Click “Add Drive” to add a drive to the drive list. Ensure that the drive added is not a local drive. If it is, continue to click “Add Drive” until an unused drive letter is available.
  4. Select an unused drive letter from the drive list and click “Mount”.
    Navigate to the directory to which you downloaded the OrcasBeta2VSTSX1394647.img image file.   In your dialog window, change the “files of type” option to All files (“*”). Now you should be able to see the Visual Studio 2008 image file. 
  5. Select the image file and click “OK”.  (You can leave all the option check boxes unselected.)
  6. Return to your windows browser, where you should find the image file under Devices with Removable Storage.  Double click it to begin the install.

orcasinstall